WHY BEESWAX CANDLES?
- Beeswax is the magical building block of the hive, serving as the bees’ house, pantry, and nursery.
- Worker bees eat honey, then convert the honey’s sugars into wax and excrete the wax through glands on their abdomen.
- People have used beeswax for thousands of years for cosmetics, skin care, home care, food preservation, medicine, art and more.
- Beeswax candles are a natural air purifier. Burning beeswax releases negative ions, which attract to the positive charge of airborne pollutants, pollen, dust, and dirt. When beeswax burns, negative ions are released and joined with the positive charge of air contaminants, then neutralized ions are sucked back into the burning candle or fall to the ground. This is the same way commercial air purifiers function.
- When you buy beeswax at local farmers’ markets, you support the efforts of beekeepers in your community to protect and care for the bees that support our entire agriculture system.
YIELDS
- (5) 4oz. candle tins
MATERIALS + TOOLS
- Metal pot
- Heat safe glass measuring cup or metal double boiler
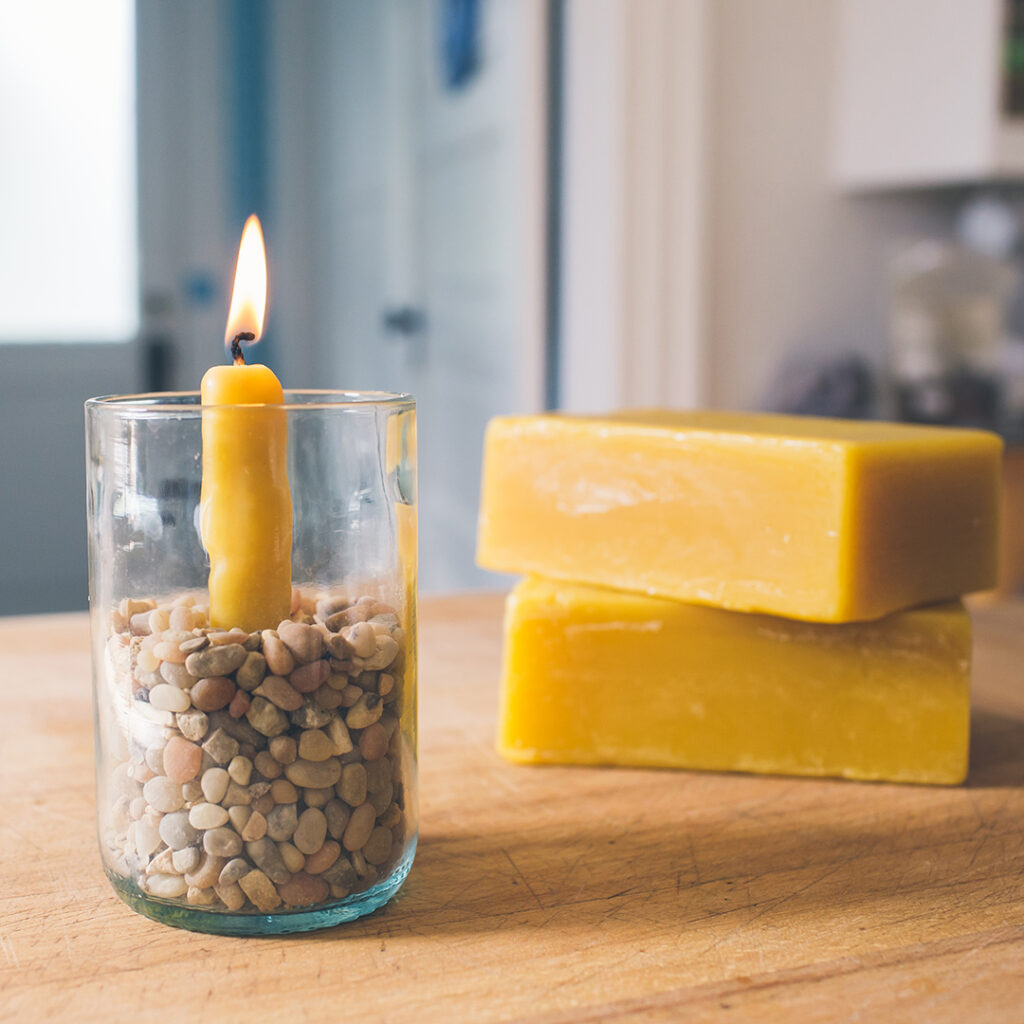
- 1 lb. raw yellow beeswax (unbleached)
- 1 piece square braid cotton wicking, 5” per candle
- Scissors
- Chopsticks or popsicle stick
- Potholders or towel
- Wax paper (to protect from drips)
- Optional: Paperclip, bolt or other weight for the wick
- Optional: essential oils to scent wax
INSTRUCTIONS
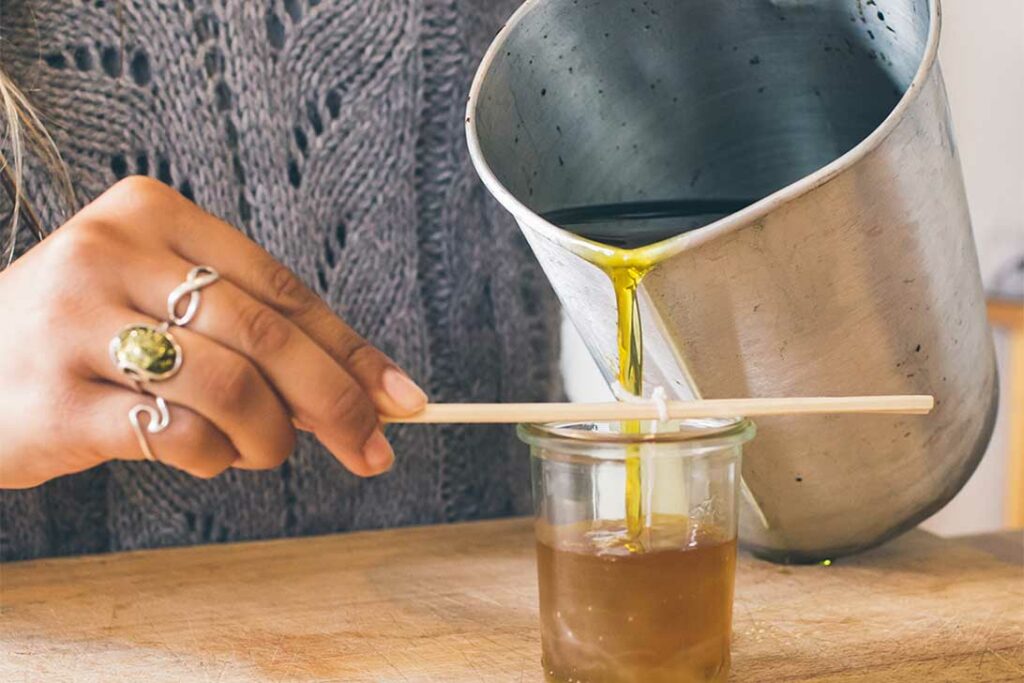
- Heat wax in the metal double-boiler, being careful not to heat over 200° F (this is the flashpoint, so very important to avoid dangerous combustion) and just until wax is liquid.
- Cut your wick to extend just above the height of your tin. Dip the end of the wick into the wax, and then press into the bottom of the tin until it solidifies and sticks. You can also use a weight, such as a paper clip or bolt.
- Wrapping the other end of the wick around a popsicle stick or chopstick, and balance horizontally across the jar opening.
- If you’d like to add essential oils, do so while the melted wax is on the heat source and make one quick stir. Remove from heat immediately.
- Pour wax into tins, leaving ¼ to ½ inch of room at the top.
- Let candles sit without moving until they appear solid (30 to 60 minutes). If candles have caved in at the top, add remaining wax as needed to level off.
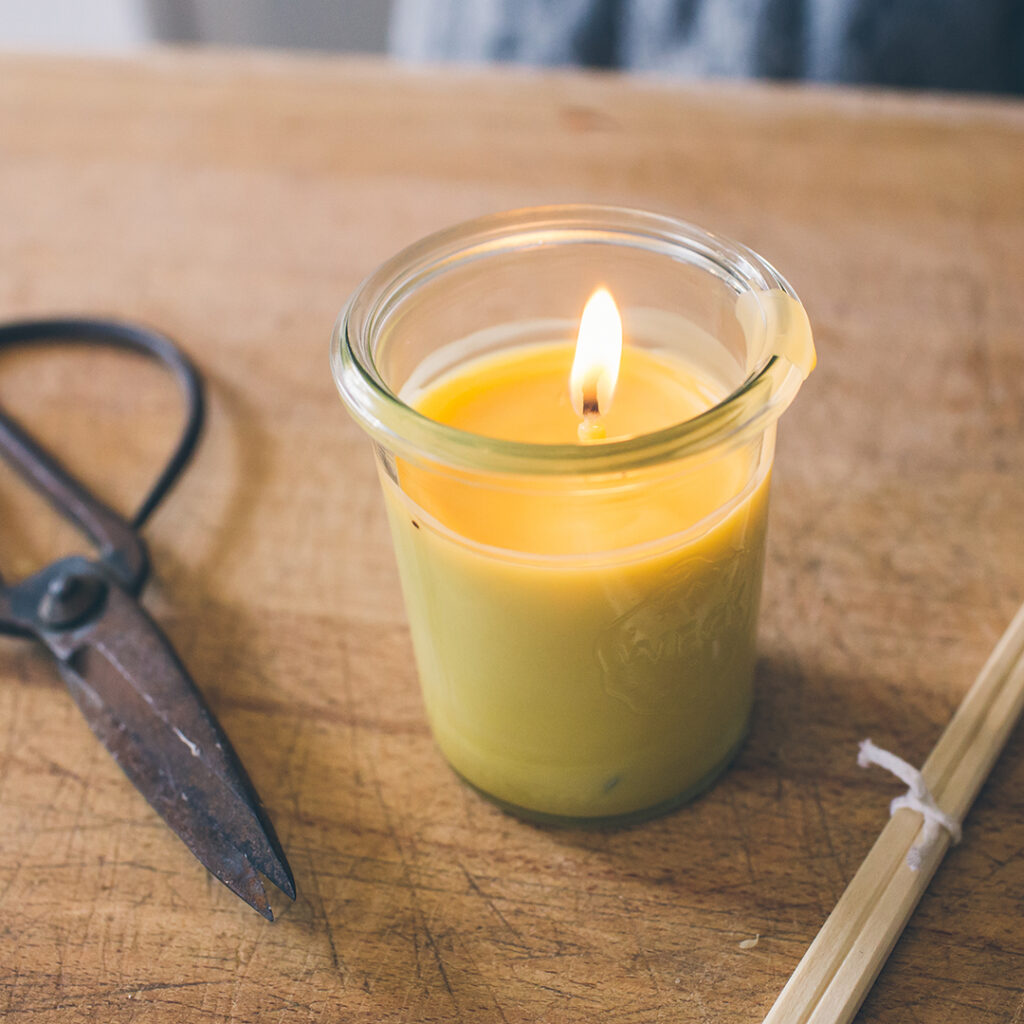
- Cool completely (12-24 hours) then cut wicks to ½ inch.
- Once completely cooled (overnight is great to be safe), remove wick holders and snip wicks to 1/2 inch.
- Celebrate!
UPCYCLE
Instead of tossing old glass jars or tin cans, make them into fragrant candles to bring warm light and sweet scents into your home. Once your candle has burned completely, make a new candle or think of creative ways to reuse your container instead of adding it to the waste stream.